
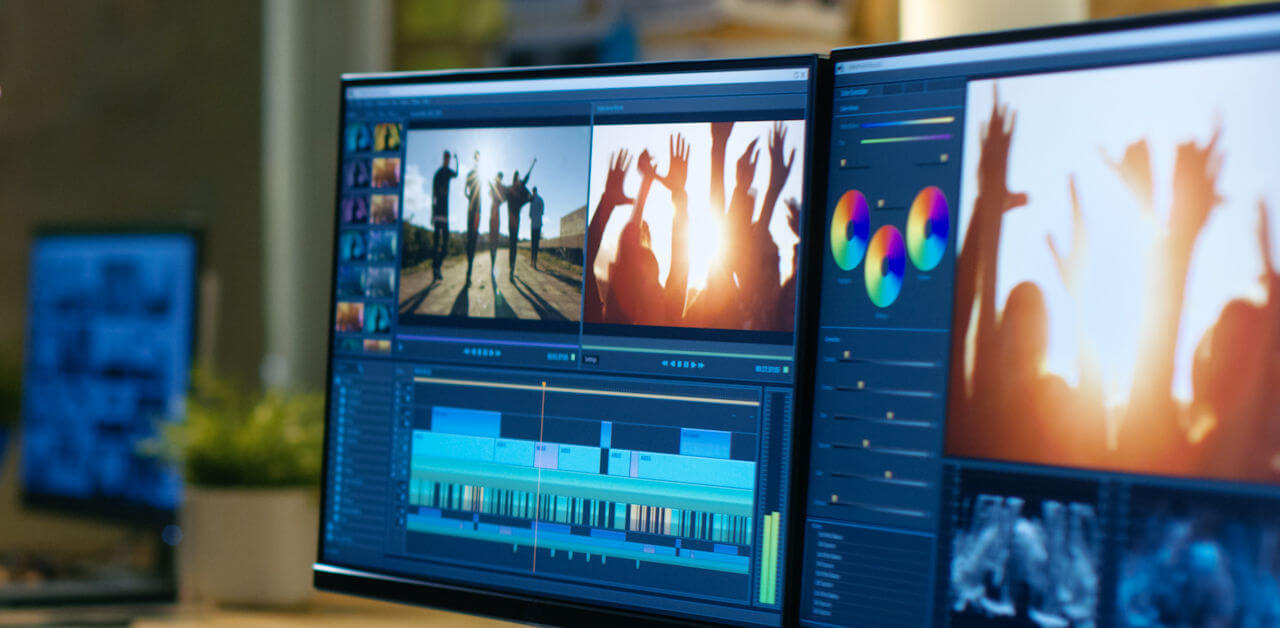
Video editing is where the magic happens—it’s where you turn your raw footage into polished, professional content. With so many video editing tools available, both free and paid, it can be hard to know which one is right for you. This introduction will provide an overview of the most popular video editing software on the market, comparing features, ease of use, and pricing to help you choose the best option for your editing needs.
Free Tools
iMovie (Mac): Easy-to-use with basic editing features like trimming, transitions, and adding music. Ideal for beginners.

HitFilm Express (Windows/Mac): A powerful, free editor with more advanced features like special effects, masking, and compositing.

DaVinci Resolve (Windows/Mac/Linux): Known for its professional color grading, this free version is excellent for intermediate editors.
Paid Tools
Adobe Premiere Pro (Windows/Mac): Industry-standard editing software with advanced features for professional video production.
Final Cut Pro (Mac): Powerful and fast, particularly popular among professional Mac users.
Filmora (Windows/Mac): An easy-to-use editor with a range of effects and transitions, suitable for beginners and intermediate users.

Editing Techniques: Cutting, Transitions, Adding Text, and Effects
Editing is an essential part of the video creation process, and mastering key editing techniques can make your content more engaging and visually appealing. From basic cuts and transitions to adding text overlays and special effects, this guide will introduce you to fundamental editing techniques that every YouTuber should know to keep their audience engaged and enhance the overall quality of their videos.

Cutting: Removing unnecessary footage to keep your video concise and engaging. Cuts are essential for maintaining viewer attention.
Transitions: Use transitions between scenes to make the flow smoother, but avoid overuse. Popular transitions include fades, dissolves, and wipes.
Adding Text: Text overlays or lower thirds can highlight important information, such as the name of a product, a point you’re making, or your social media handles. Make sure text is clear and legible.
Effects: Subtle effects, such as zoom-ins, slow motion, or color grading, can add polish to your video. However, excessive use of effects can distract from your content.
Tools for Adding Background Music and Sound Effects
The right background music and sound effects can elevate the mood and tone of your YouTube videos, making them more immersive and professional. Whether you’re looking for royalty-free music or high-quality sound effects, there are various tools available to help you find the perfect audio to complement your visuals. In this section, we’ll explore some of the best platforms and tools for sourcing and integrating music and sound effects into your videos, ensuring your content stands out.
YouTube Audio Library: A free resource for creators that provides a variety of background music and sound effects with no copyright restrictions.
Epidemic Sound: A paid service that offers a wide selection of high-quality music tracks and sound effects for professional videos.
Artlist: Another paid service known for its cinematic music library and sound effects, suitable for filmmakers and YouTubers alike.
By following these guidelines, you can create engaging, well-optimized YouTube content that resonates with your audience and performs well on the platform.